
React Native - Setting up your development Environment using Chocolatey (Windows)
Hi guys, this tutorial will walk you through how to setup your development environment in windows using chocolatey. To install this chocolatey, I have already shared a installation guide.
We need some of the tools for development such as,
- Visual Studio Code Editor (any IDE)
- Android Studio
- Build in Android Studio Emulator (or a real device)
- Node.js (latest LTS version is recommended)
- React Native CLI
- Git CLI (for some package in NPM)
- Python (for some packages in NPM)
- Java Development Kit (Latest LTS version is recommended)
There are two ways to create a react native project. One is using the React Native CLI and the other is using Expo CLI. Using the second method will make your life easier, however you have your own pros and cons (will be shared in later).
Installation Steps
For to install the latest Java JDK(Java Development Kit) using chocolatey, I've an another installation guide.
Packages are installed using chocolatey, as because it has many advantages such as follows,
- environment path will be setup automatically
- many software can be installed using a single command
- easy to use
- only updated software will be installed
- can be deployed anywhere
For to install the required packages, use the following command
C:\>choco install -y git nodejs-lts jdk8 androidstudio python vscode
We need one more item to install
C:\>npm install -g react-native
From the above lines, everything is installed.
Configuration Steps
Configuring Android Studio
Open Android Studio. If you are opening it for the first time you need some more steps to configure it for react native.
Open Android Studio

Click on Configure

Select SDK Manager & Select the following packages


Click on Apply & install the packages

Wait for all the packages to be installed and click on finish. Then you can also close android studio as well and open a regular command prompt or powershell prompt.
Creating a react native project
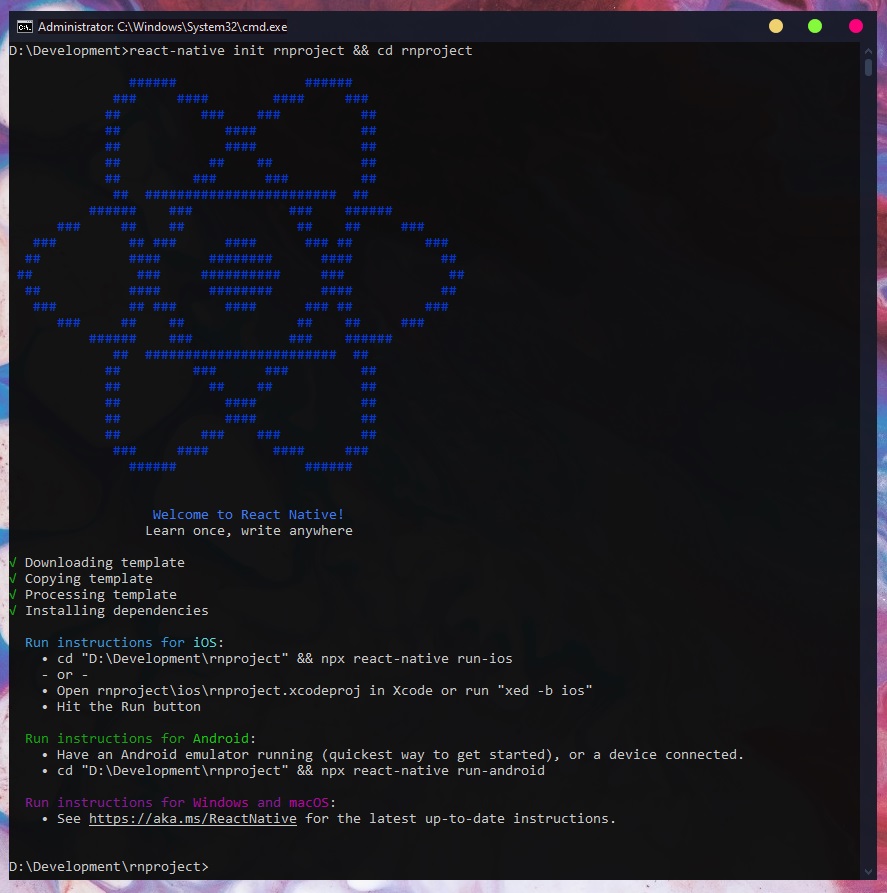
I am opening a regular command prompt. Go to your development folder, if you don't have one; I suggest you to create one. Then use the following command to create a new project
D:\Development>react-native init rnproject && cd rnproject
After creating a project, use the following command to open the project folder through our IDE. Here I use VS Code for this example.
D:\Development\rnproject>code .
After that create a file with the name local.properties inside android folder and add the following lines into it.
sdk.dir = C:\\Users\\[USERNAME]\\AppData\\Local\\Android\\sdk
Replace the [USERNAME] with your machine's username.

After updating the android sdk location in your local.properties file, run the following command to run your application on a real device.
D:\Development\rnproject>react-native run-android
I recommend using a real device for running your react native app, as because it uses much less RAM when compared with an emulator. Also, you have many advantages on checking your application on a real device. Turn On USB Debugging in your android device and connect your device via USB to your machine.

Then the apk will be sideloaded to your connected android device and you have successfully create an android application using react native.
Frequently coming Issues
Enabling USB debugging - Each android device will have a different method to turn on developer options and enable USB debugging.
ADB devices goes offline - Switching from USB 3.0 to USB 2.0 will fix this issue.
Conclusion
Hope you like this post. Please share you thoughts, doubts and questions through comments under this post. Thanks for reading this. I also have a youtube channel, watch and support my channel.
If you find something really helpful, please donate me @paypal
Comments
Post a Comment